Part 2: texturing the walls

At this step, I'm just loading textures in the memory. In order to check that the code is working properly, I just draw a texture with index 5 in the upper left corner of the screen:
You can see the modifications here.

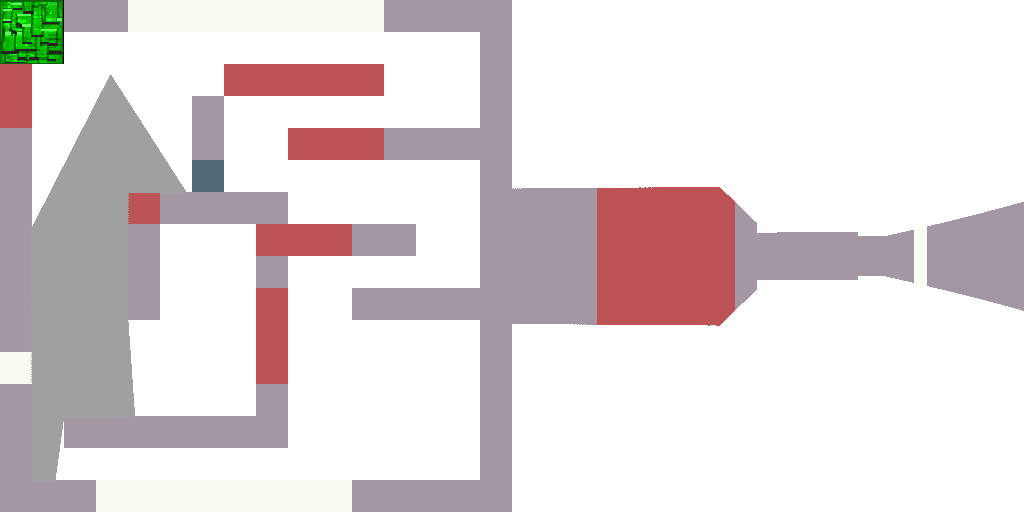
Now I throw away randomly generated colors, and draw my walls with the colors defined by the upper left pixel of corresponding textures:

You can see the modifications here.
And now it's time for us to finally see the brick walls:

The main idea is very simple: we slide along the ray we cast and we stop at the point x,y. Let us suppose for a moment that we have stopped at a "horizontal" wall. Then y is almost integer (up to an error caused by our ray marching). Let us take the fractional part of x and denote it hitx. The fractional part is less than 1; therefere, if we multiply it by the texture size (64 in my code), it will give us the corresponding column in the texture image. Then we stretch the column to the desired height and it is done:

The idea is quite basic, but it requires an accurate implementation: we also have "vertical" walls, i.e. the walls where the hitx will be close to zero (integer x). The texture column is defined by hity (fractional part of y) in this case. You can see the modifications here.
At this step, I didn't implement anything new, I have just cleaned the code. Up until now, I had one giant (185 lines!) .cpp file. The file was quite dense and difficult to expand, that's why I broke it into a bunch of small files. Unfortunately, it doubles the code's size (319 lines), without adding any functionality. In exchange, it became more friendly to use. For example, to generate an animation, you just can make such a loop:
    for (size_t frame=0; frame<360; frame++) {
        std::stringstream ss;
        ss << std::setfill('0') << std::setw(5) << frame << ".ppm";
        player.a += 2*M_PI/360;

        render(fb, map, player, tex_walls);
        drop_ppm_image(ss.str(), fb.img, fb.w, fb.h);
    }
Here is the result:

You can see the modifications here.